How to Organize Your Materials Library
If you’ve ever struggled with the best way to catalog interior design materials library, look no further. After years of playing with various options, I’ve landed on a few tried and true methods that work whether you operate a large studio or a small home office.
The key is to make your library organized in a way that allows you to not only find what you need more easily but to also know exactly where things go when you’re done with them.
Doing this will help you specify your project materials faster and help you to be more profitable.

Best Practices for an Organized Interior Design Material Library
THE GOLDEN RULE OF MATERIALS LIBRARY
NOTHING enters the interior design materials library without pricing. Period.
All samples that enter the office must first be labeled and priced before they hit the shelves. This saves time in the long run by allowing us to focus on the materials that are in the project budget.
We label with retail pricing (What the client will pay) for two reasons.
#1 Clients are likely to see it
#2 We can tell at a glance if the material is within the project budget.
Once we have narrowed down our selections, we will determine trade pricing on the back end, in the project management system.
In addition to pricing, we make sure items have labels. Often stone samples and sometimes tile will not have a label from the vendor. If it enters the library without a label, we won’t know where it came from, practically making it obsolete.
HIERARCHY
It’s important to think about hierarchy when cataloging materials. It’s usually not enough to simply organize by color, size, or vendor. Think about how a clothing retail store is organized. What if they put all the small shirts together...kids, men’s women’s. All smalls, mediums, and larges together. Or all blue clothes together. All blue pants, tops, dresses, etc. together regardless of whether it’s men’s, women’s or children’s. Yes...it would be quite silly.
Just like retail stores use hierarchy to catalog their items so do we. For each item type, I’ll share with you the exact hierarchy we employ when cataloging products and materials.
STASH BIN
Finally, I recommend a “stash bin” to keep on hand. This is a container where you can quickly set aside materials you have decided not to use and will need to be cataloged again. When you are very busy working on multiple projects, this is often much faster than trying to do it as you go. At the end of a presentation, a design assistant will go through the bin and catalog each item where it belongs. We keep a separate basket for incoming items that need pricing.
PROJECT TRAYS & BINS
As you are working on projects, it’s best practice to keep all project material together. These stacking acrylic trays are my personal favorite to use during design development. After the presentation, we still keep the materials together, but transfer materials to these closed stacking containers.
A LITTLE INSPO FROM OTHER DESIGNERS. 👇

Interior Design Material Organization
Here are the categories we’ll cover today:
Fabric, Rugs & Carpet, Paints, Wallpaper, Wood, Metal, Tile, Stone, & Mood Materials
FABRIC
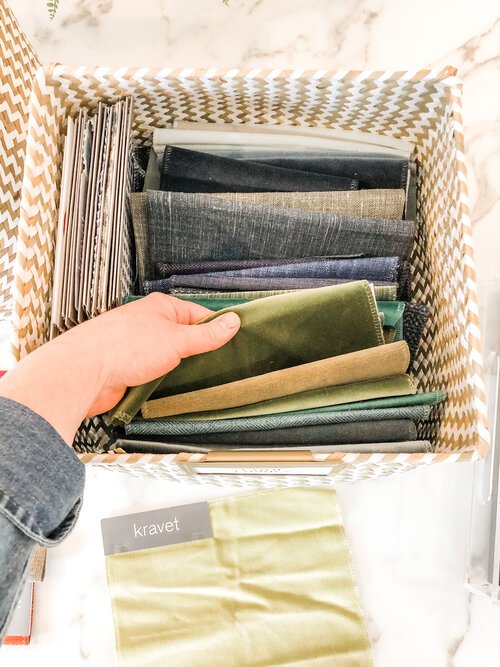
Perhaps the most difficult of all materials to organize is fabric. Do you catalog by color? Brand? End-use? Prints vs Solids? Price? This is how we do it.
(Note: End Use = How it is used. I.e. Multi-purpose, Outdoor, Window Treatments)
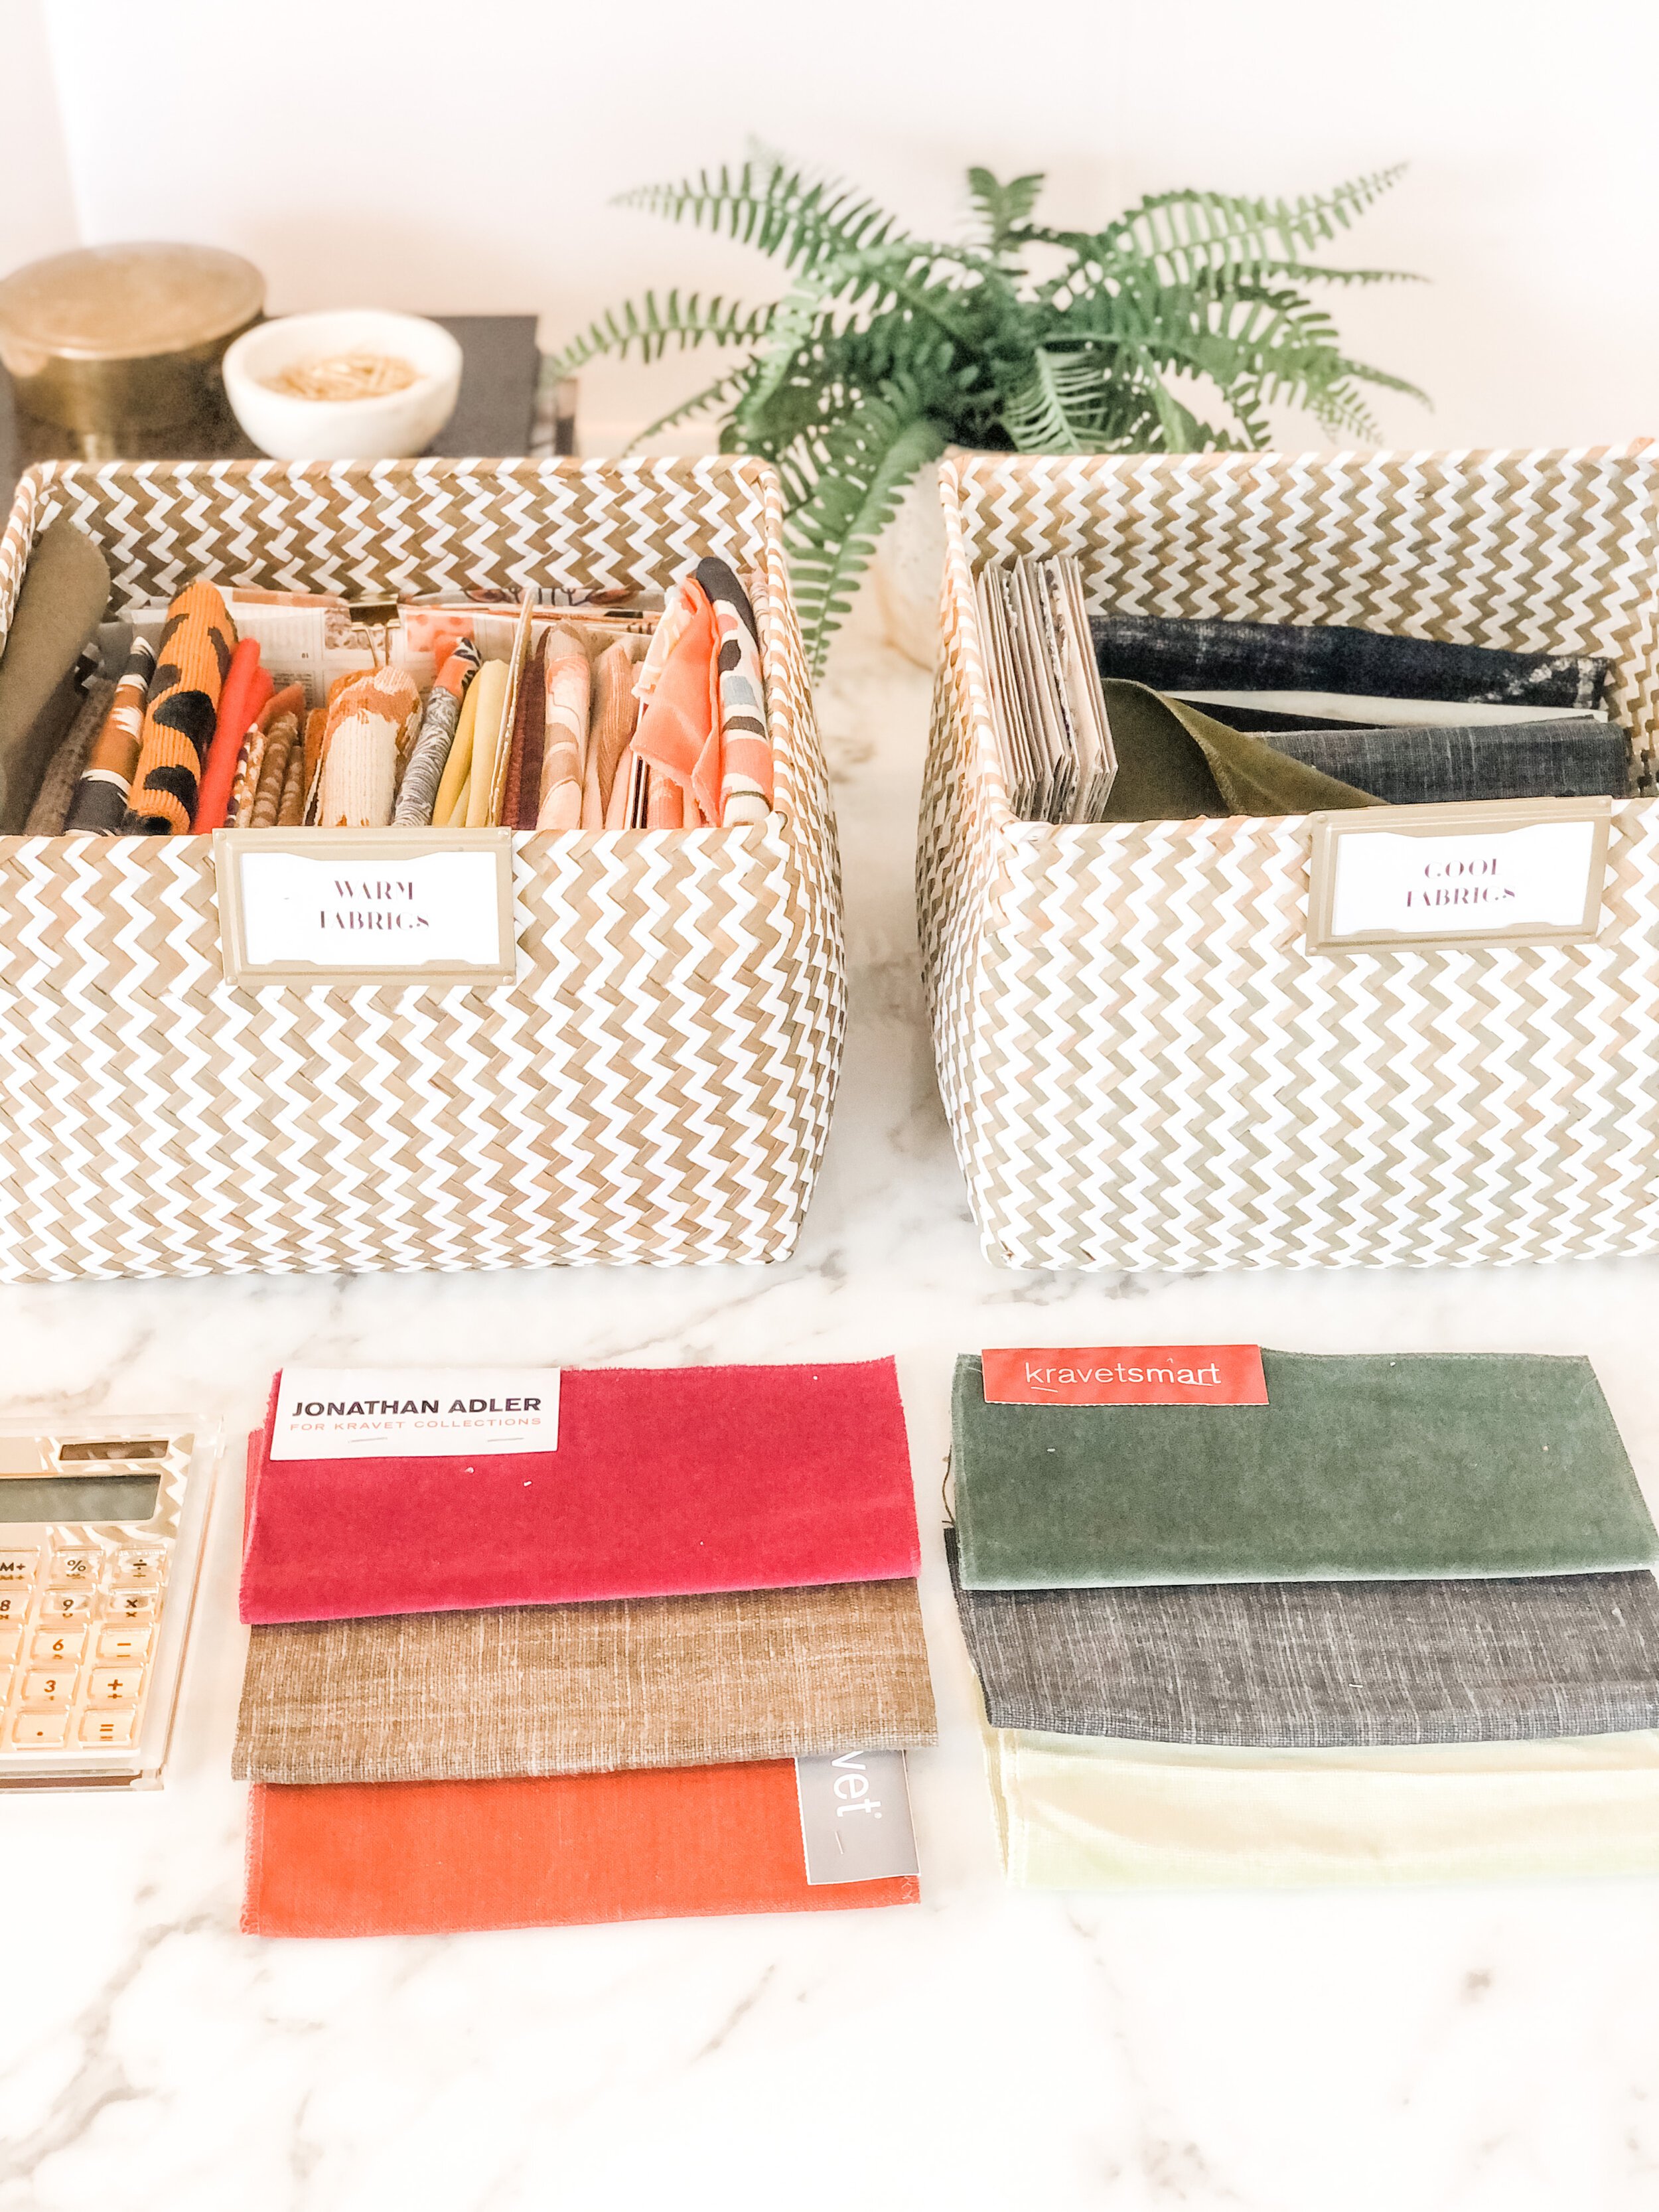
In our office, we organize all loose samples used for COM (i.e. Kravet, Schumacher, Perennials, etc.) together by end-use & color. These fabrics are used for 100% custom work such as a Perrenials fabric on a LEE sofa frame or a Kravet Fabric used to make custom window treatments.
Here is the Breakdown
Multi-purpose
Cool
Warm
Neutral
Multi-colored
Window Treatments
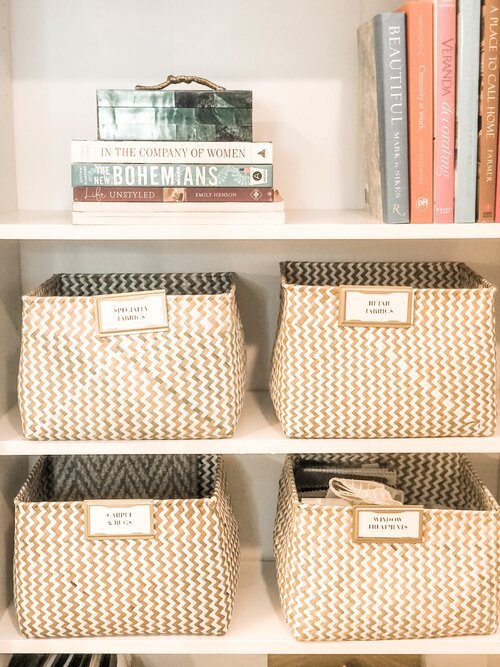
Specialty Fabrics (Leather, Vinyl, Cork, etc.)
Outdoor & Performance
Then, all of our “graded-in” fabrics (i.e. LEE, Bassett, Rowe, Bruce Robin, etc.) are stored by brand. These fabrics can ONLY be used on their frames, so these are semi-custom.
We also have a basket for “retail” fabrics such as Anthropologie, Ballard Designs, and Pottery Barn which are used in E-Design Projects.
Within each of these bins, fabrics are sorted by color.
Fabric Books are usually hung on a rod or stored on a bookshelf.
RUG & CARPET
Rug samples are usually quite large (18 x 18). Rugs are best cataloged by color. They should come with labels on the back indicated the material type. We label rugs with pricing only for an 8x12 which gives us an indication of the price point. We can always look up pricing for other sizes when necessary. If you keep a very large rug sample library, hanging samples vertically using pant hangers with clips will make previewing samples much easier.
If you have a smaller collection, storing them flat may be easier especially if you have deep shelves available.
Finally, we keep a small bin of carpet samples (usually smaller 6x6) with edge binding options as well as rug pads.
PAINTS
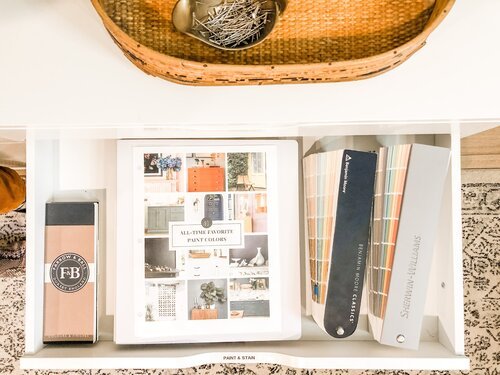
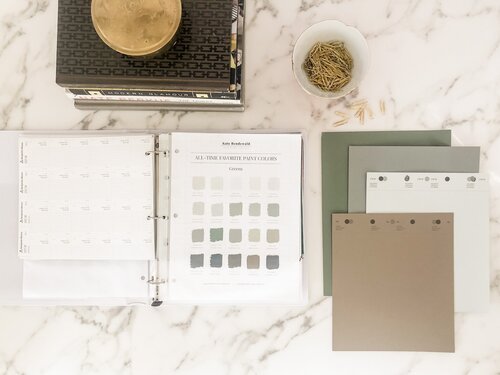
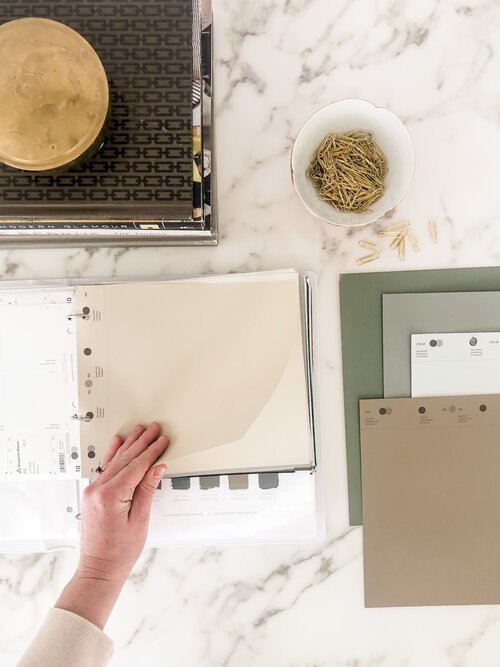
Paints are organized by color. (Duh!?) While we do keep a set of fan decks for our favorite paint lines (we are partial to Benjamin Moore, Sherwin Williams, & Farrow & Ball), our preferred way to organize paint samples is in a binder. We keep large sheets (available for order online) of our favorite colors for quick reference. We keep 2-3 sheets and replace them as needed.
The sheets are organized by Color Temperature - neutrals, greens, blues, & warms.
We also keep color pot samples from Farrow & Ball that we paint onto painting paper when presenting to clients.
WALLPAPER
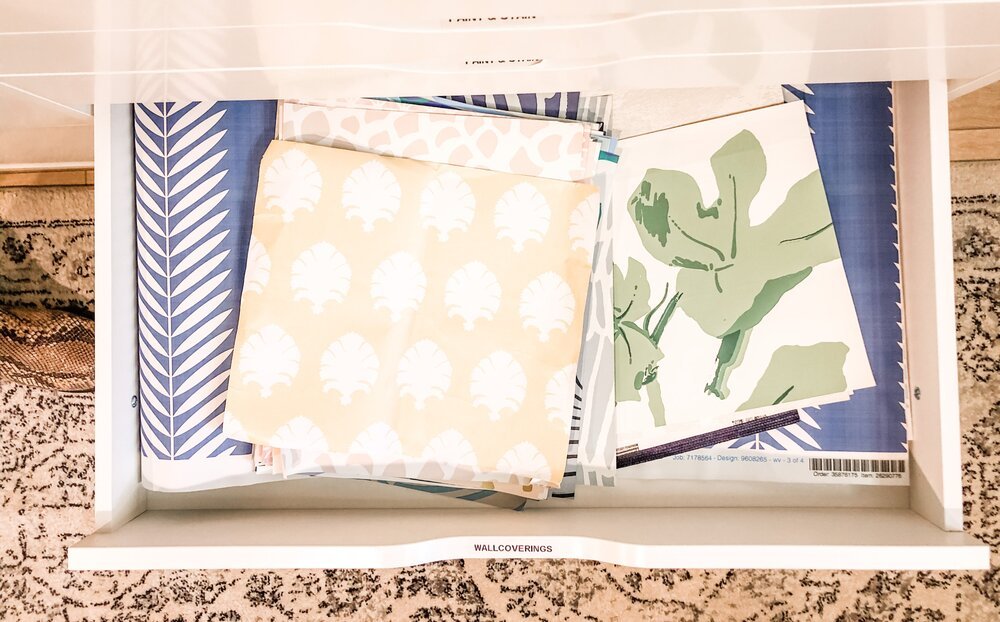
Loose wallpaper samples are simply stored in a flat-file drawer. All samples are priced accordingly. We sort them by type: Pasted, Removable, Vinyl & Grasscloth.
WOOD
Wood is stored by type then color (Lightest to darkest) as follows:
Flooring: Solid Wood, Engineered Hardwood, Wood “Look” LVT
Wood Veneer
Solid Wood (as used in millwork)
METAL
We keep an assortment of metal samples for various applications. Each is stored in small bins as follows:
Hardware (knobs, pulls, etc.)
Plumbing (various manufacturers finish samples)
Metal Laminates
TILE
If I’m being honest, I struggled with the best way to catalog tile for a long time. Some days I wanted it by size (i.e mosaics vs subway vs large format), other times by color, manufacturer, or type (i.e. stone, porcelain, ceramic, etc.)
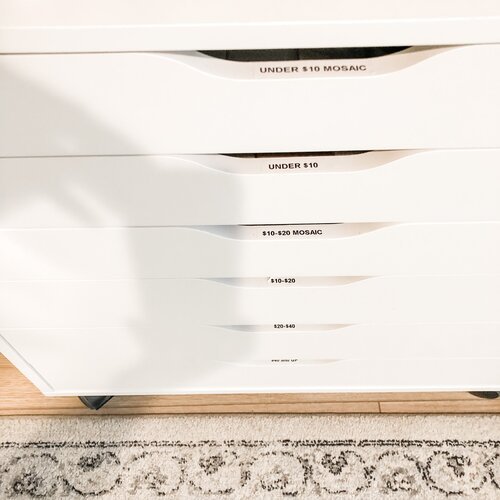
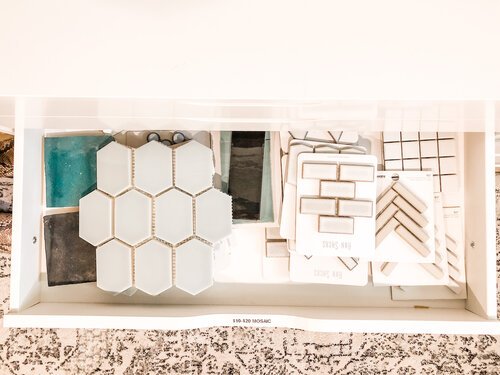
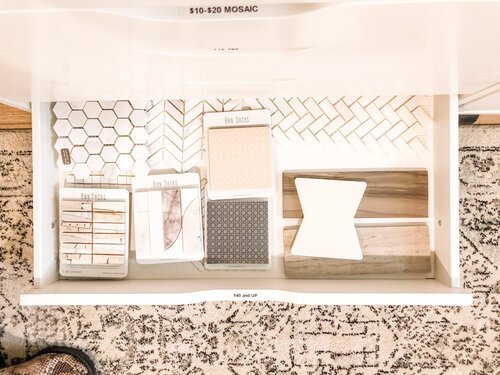
Finally, I landed on a system that works perfectly for us! Most of the tile is sorted by price per square foot. This makes sourcing extremely efficient when you can go to the tile you know is in your budget.
PRO TIP! Not all tile is priced by the square foot and is instead priced by the piece. In this case, you will need to do the math for price per square foot (which has to be done anyway for budgeting purposes).
Price Ranges
Under $10 Mosaics
Under $10
$10-$20
$20-$40
$40+
Large format and cement tile is stored separately because it’s too heavy/large for the flat file drawers. Every tile sample is labeled with price per square foot.
STONE & QUARTZ
Stone and quartz samples are heavy. They need sturdy shelves and bins that won’t break with frequent moving. Most of our stone samples come in 3x3 samples which we store in bins on a shelf. We separate natural stone, quartz, porcelain slabs, and solid surface and price each sample by the price for material per square foot.
PRO TIP! Pay close attention to how suppliers give you pricing. Some will give you “installed pricing” while others will give you “material pricing”. If you aren’t consistent with how you label your materials, you may skew information.
For example: Stone A is labeled $85/sf and Stone B is labeled $110/sf. But if Stone B is $110/sf INSTALLED, then you may not realize it’s a viable option and overlook it thinking it’s out of the budget. And Stone A is $120/sf INSTALLED then Stone A is actually more expensive.
MOOD MATERIALS

Mood Materials aren’t actually materials to be sourced. Instead, they are items that I come across and save because they have properties that I like such as color, texture, shape, or vibe. I’ll save these items and sprinkle them into the design presentation to enhance the overall vibe/mood of the layout.
This may include items found in nature like stone, feathers, wood, or shells. You’ll also find materials like velvet ribbon, art postcards, antique trinkets, metal objects with patina, gems, and other various found objects.
I hope this helps you find the answers you need to get your interior design materials library to tip-top shape. Taking the time to get it right will help you keep things organized so you can find what you need quickly and effectively.
Let me know in the comments below if you found this useful or if you found another way that works for you!